
First step is how to make a beam
Create two parts and keep some distance between them as shown below

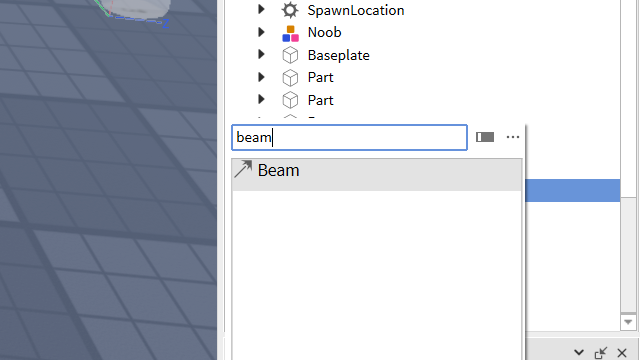
Select one of the parts click the plus button and add a Beam object:
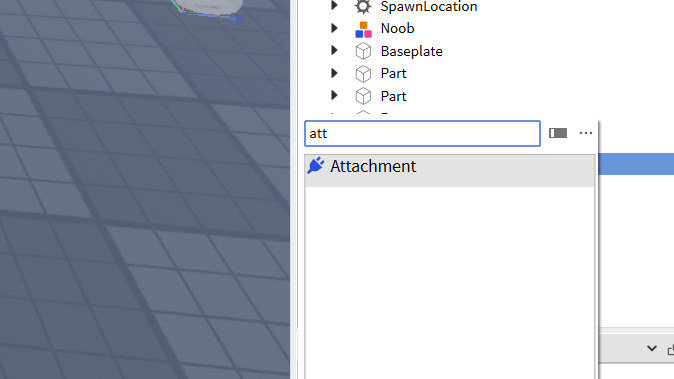
For both parts click the plus button and insert an attachment:
Select the Beam object and in properties select attachment0 (oh wait hold on why do I keep missing a step, btw Name your attachments as 0 and 1). You’ll notice your cursor change. remember to apply it to both as shown in the picture:

Then go all the way up on Beam to Texture and click it (it’s on appearance) then select an image then choose the image you have chosen:
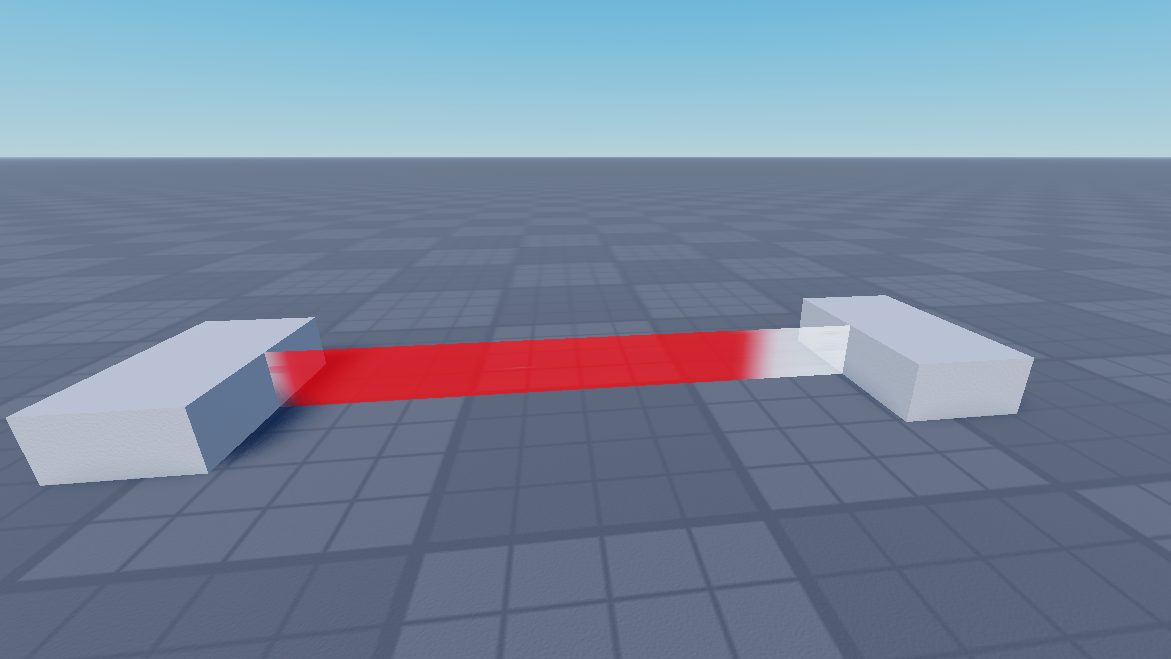
There we have our Beam to make it a Death Beam it will require some coding. Start off with a part:

Then click the plus and look (or search) script, delete "Hello world!" then put in this:
local trap = script.Parent
local function onTouch(partTouched)
	partTouched:Destroy()
end
trap.Touched:Connect(onTouch)
Then make the part transparent and put it where the beam is (make sure it’s smallish) then there we have it a Death Beam see ya guys
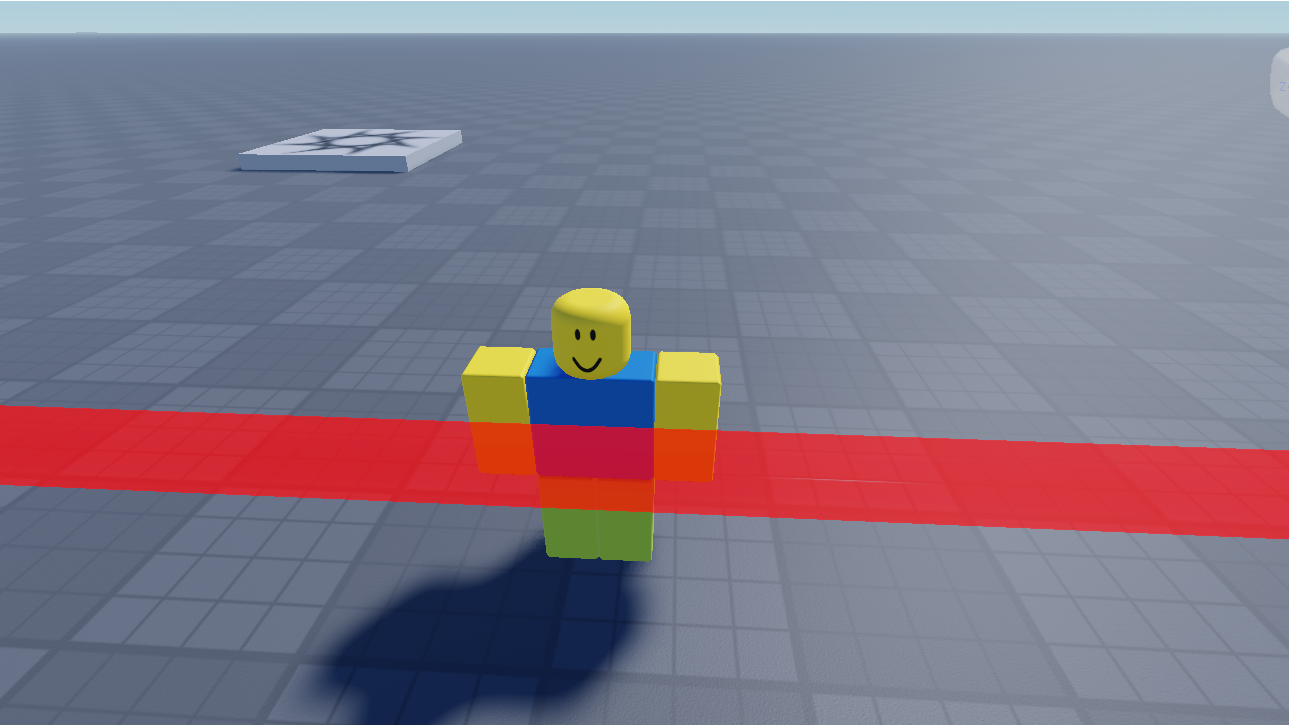
Before

After going through the laser

Leave a comment